 German
 English (United States)
 English (UK)
 French (France)
 French (Canada)

So verwenden Sie einen Starthilfe-Booster sicher an einer 12-Volt-Autobatterie
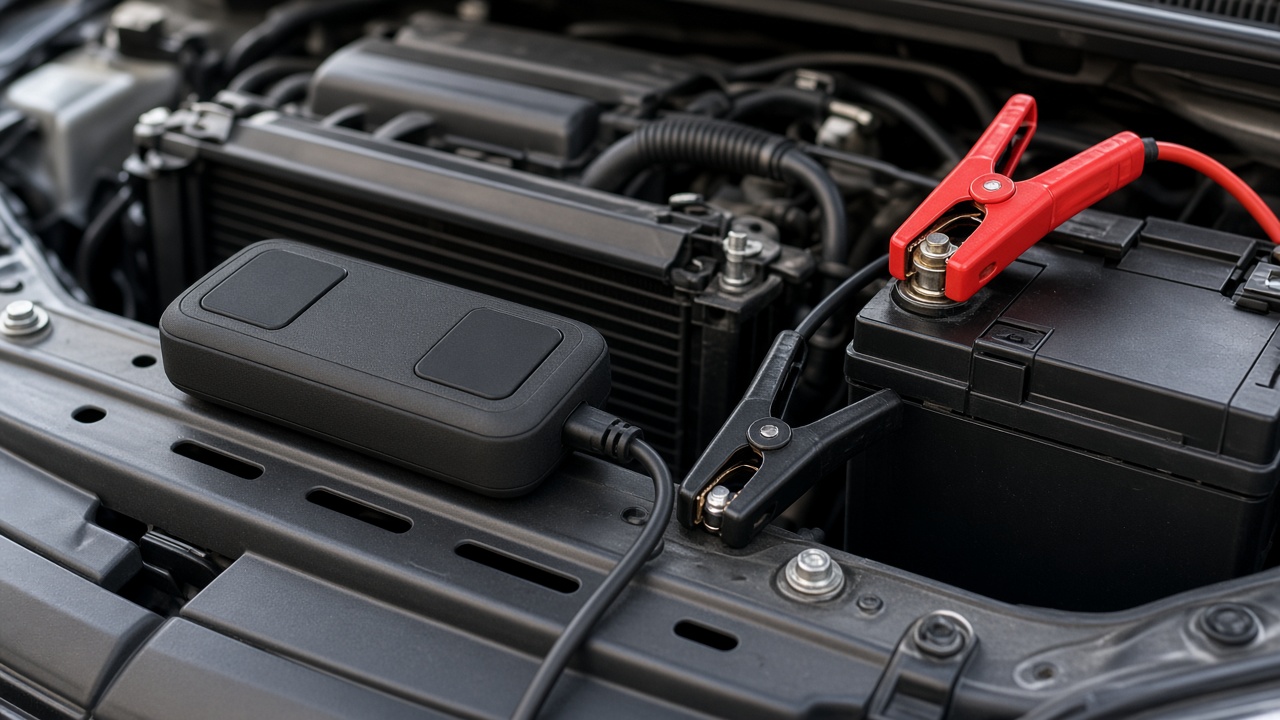
A portable jump starter is one of the most useful tools you can keep in a truck or a service truck. It is also easy to use badly. Hook the clamps up backward, and you can damage the jump starter, the vehicle’s modules, or both. Use it on a cracked, frozen, or leaking battery, and you take on a safety risk that no dead-car inconvenience is worth. This walkthrough is for a conventional 12-volt lead-acid or AGM battery in a gas or diesel vehicle. It is not a procedure for high-voltage hybrid or EV traction batteries, and it is not a substitute for the instructions that came with your unit.
When you should not jump the vehicle
Stop and do not attach a jump starter if:
- The battery case is swollen, cracked, leaking, or frozen solid.
- You smell a strong rotten-egg odor around the battery.
- The vehicle is an EV or you are looking at an orange high-voltage service plug rather than a 12-volt battery.
- The jump starter itself is damaged, swollen, or will not power on.
A jump starter is for a discharged 12-volt battery that is otherwise intact. If the car has a mechanical problem — a locked starter, a hydrolocked engine, or a known immobilizer fault — jumping it will not fix the cause and can make a bad situation worse.
Charge the pack, then inspect the battery
Charge the jump starter at home so it is ready before you need it. Many packs need a full charge after storage, even if a status light still looks acceptable. At the vehicle, put the transmission in Park (or Neutral on a manual), set the parking brake, and switch off lights, the blower, and accessories. Look at the battery labels so you know which post is positive (+) and which is negative (−). If the posts are badly corroded, clean them enough to get a solid metal contact. A clamp on a crust of corrosion is a poor connection and a common reason a “good” pack appears to fail.
If you have a handheld tester, this is a good moment to measure the battery rather than guessing. Our home battery test guide Und 12V tester overview explain what a resting voltage and a cranking test can tell you. A pack such as the store’s JumpSurge 2000 Pro will start a healthy-but-flat battery; it will not repair a cell that has already failed.
Hook-up order matters
Follow the manual for your exact model. The usual safe pattern on a 12-volt battery is:
1. Turn the jump starter off if it has a power switch, and make sure the clamps are not touching each other. 2. Connect the red clamp to the battery’s positive (+) terminal, or to the under-hood positive jump point if the manufacturer provides one. 3. Connect the black clamp to a clean, unpainted grounding point on the engine or chassis, or to the negative terminal if the manufacturer tells you to. A solid ground away from the battery reduces the chance of a spark at the battery. 4. Confirm red is on positive and black is on ground. Then power the jump starter on.
If the unit has reverse-polarity protection, it may refuse to operate if the clamps are reversed. That protection is a backup, not a reason to skip the visual check. Never let the metal jaws touch both terminals at once.
Crank in short bursts
Once the clamps are solid and the pack is on, start the vehicle. If it does not fire, wait at least 30 seconds — many packs specify a rest interval — and try again. Do not crank the starter for long, continuous bursts. The starter motor and the jump starter both need cooling time. If it still will not start after a few attempts, stop. You may have a no-start problem that is not the battery, and more cranking will only flatten what’s left and overheat the starter.
After the engine starts, leave it running and disconnect in the reverse order: pack off, black clamp first, then red. Keep the clamps from touching as you remove them. Let the engine run so the charging system can recover the battery. A short drive is better than shutting the car off in the same parking space and hoping it restarts.
What to check after a successful jump
A jump gets you running. It does not tell you why the battery was dead. After the engine is up, check:
- Charging voltage at idle and with a few accessories on. A typical 12-volt system should show a charging voltage in a sensible range on a tester or on scan-tool live data. A reading that stays at battery voltage, or one that climbs too high, points to the alternator or regulator, not just a “weak battery.”
- Parasitic drains if the car dies again after sitting overnight.
- Corroded cables or a loose ground, which can mimic a bad battery.
If the vehicle needed a jump after a battery replacement on a European car with start-stop, you may also need a battery registration or BMS reset so the charging strategy matches the new battery. That procedure is covered in our article on scan tool service functions.
Storage and habits that keep the pack ready
Store the jump starter where it will not bake on a dashboard or freeze in a damp toolbox if you can avoid it. Recharge it on the schedule in the manual, and replace cables or clamps that are frayed or loose. If you use the pack as a phone charger in the field, put it back on a wall charger afterward. A half-dead lithium pack is not a reliable emergency tool.
Used correctly, a jump starter is safer and more convenient than waiting on another vehicle and a set of jumper cables. Used carelessly, it is a fast way to damage expensive electronics. Take an extra ten seconds on polarity, keep sparks away from the battery, and test the charging system after you get the car started. That is the difference between a clean roadside save and a much larger repair.


